Happy 4th of July!
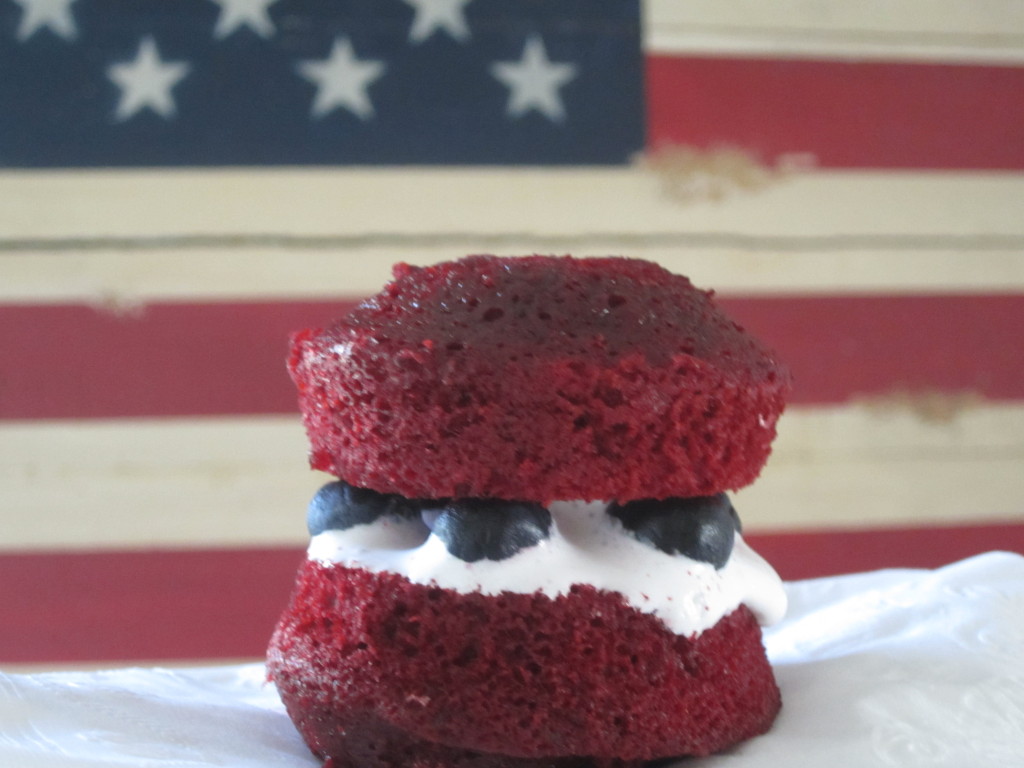
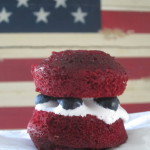
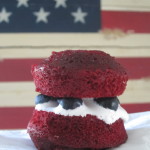
It’s a day of celebration. And, what better way to get in the holiday spirit than to make some Red, White and Blueberry Whoopie Pies.
For me, Whoopie Pies are synonymous with summers at camp in the back woods of Maine where Whoopies (or Moon Pies) are a celebrated beach treat. Last summer I attempted to make Mom’s Whoopie Pie recipe I found in her archives. It needed to be made entirely from scratch—from the cake-like exterior to the creamy interior (which used raw eggs). And, while they didn’t look exactly as I had remembered, their taste ignited a flood of childhood memories.
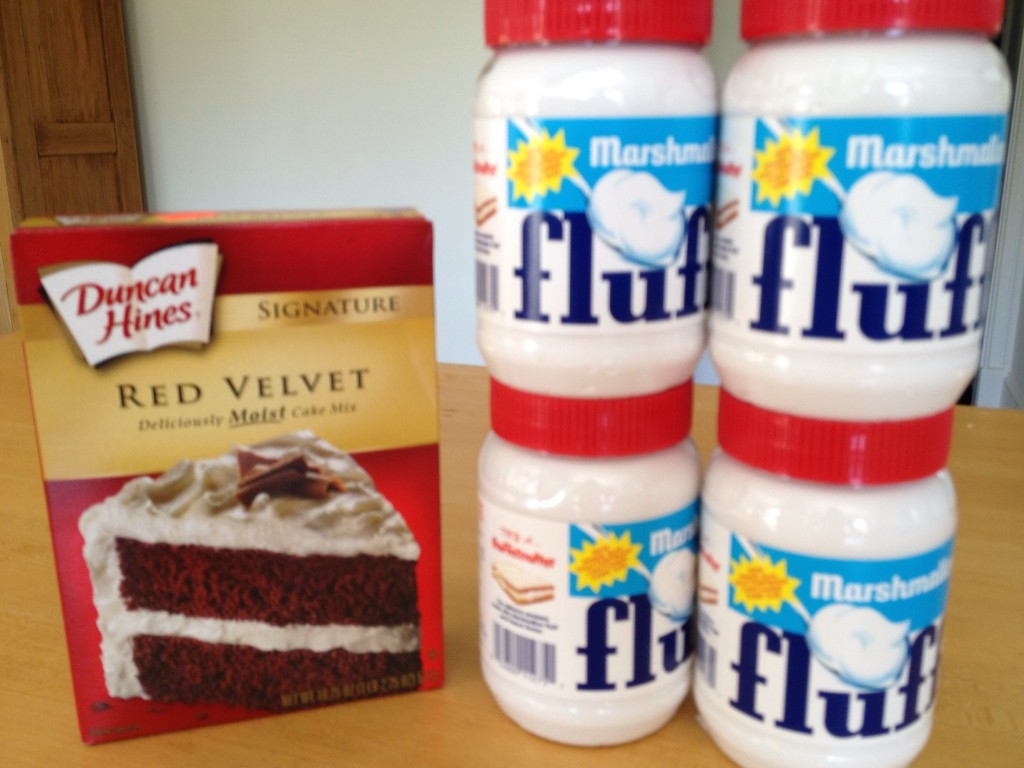
This year I decided to not only get more festive but, to make my Whoopie-making tasks a little easier since I would be including my 7-year old and his friends in our baking festivities. Therefore, I used a boxed Red Velvet cake mix and prepared Marshmallow Fluff for the filling.
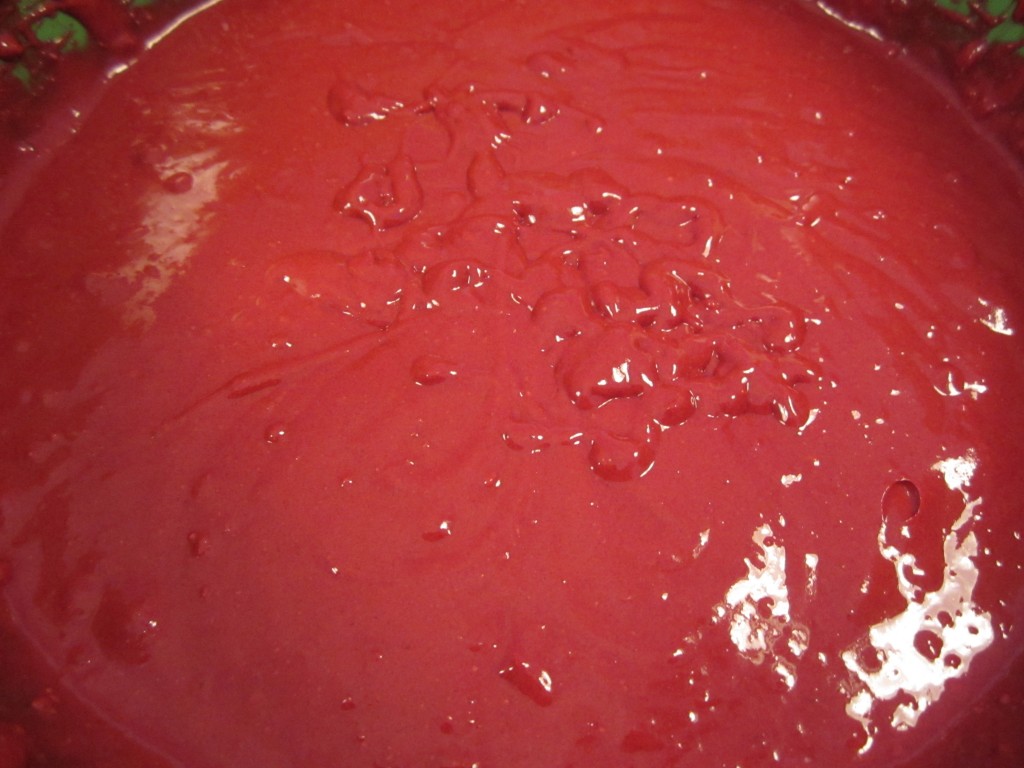
It’s not unusual for me to require one or two attempts to master a recipe (read: I always make at least two mistakes). My first baking round of red velvet “cookies” produced ridiculous cracker-thin cookies for the outer layer of my pies. Way way too flat (I’m thinking I mixed the batter too long at a high speed). I needed to find a method to make the red velvet cookies cakes more puffed. So, thanks to the advice of my friend, I used a muffin tin and only filled them 1/3 full with the red velvet batter. SUCCESS. Nine minutes later I had mini-red velvet cake circles ready to cool and get slathered with the marshmallow fluff.
The marshmallow layer is the most fun activity for the kids because it makes a total mess (which means there’s subsequently a lot of hand and finger licking that ensues). However, it gets a little tricky because the cakes a very fragile and can break easily. It’s important to use a spoon, not a spatula, to scrape on the sticky marshmallow as it allows you to layer on generous amounts and then gently spread it around.
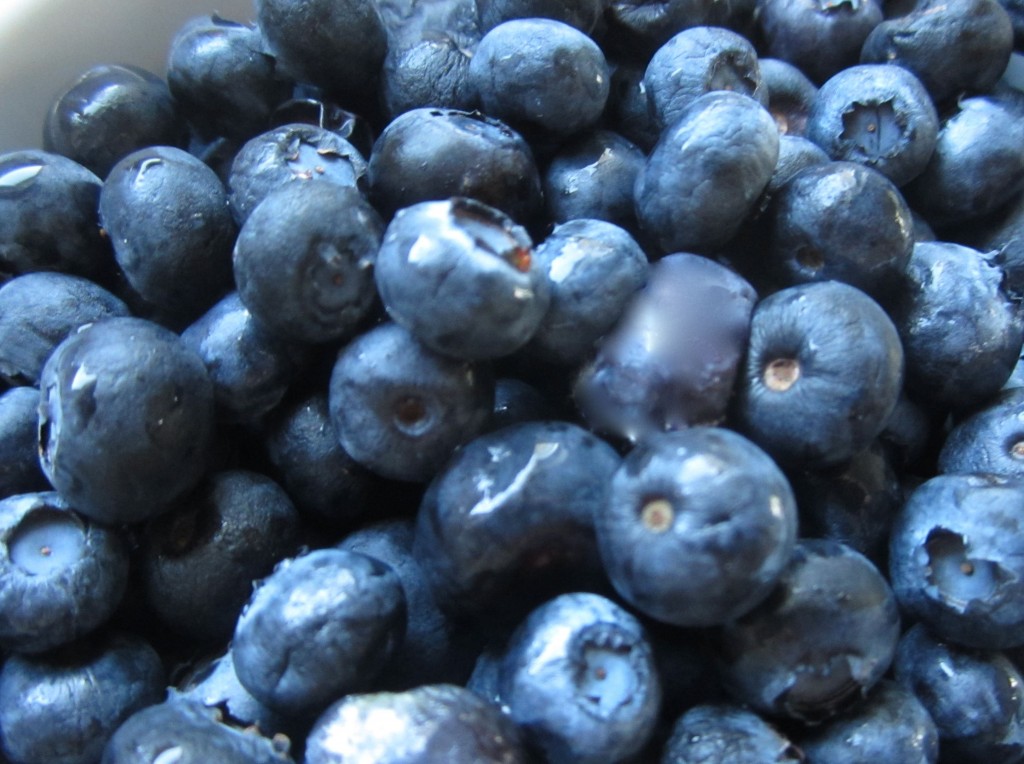
Next step: lining the marshmallow with freshly-washed blueberries. Another fun project for the kids.
Make sure the circumference of the circle is completely dotted with blueberries so that they’ll be seen when your top cookie layer gets applied. Be careful not to layer on too much marshmallow or it will quickly seep over the sides when your top layer is added. Also, if they’re not being eaten immediately, I’d recommend storing these treats in an airtight container in the refrigerator. If you leave them out, the marshmallow will leak around the outside. Other filler options are Whipping Cream or even yogurt if you’re looking for a healthier alternative.
We had a blast assembling our Patriotic Whoopie Pies. The project is messy, sticky but FUN– and my kids think the name is really funny too.
Either way, everyone will have fun making WHOOPIE (Pies) for the 4th!
Red, White and Blueberry Mini Whoopie Pies
Ingredients:
- 1 box red velvet cake mix
- 1/4 cup flour
- 1/2 cup water
- 1/3 cup vegetable oil
- 3 large eggs
- 1- 1/2 cups marshmallow creme from a jar
- 1 cup fresh blueberries
Instructions:
- Pre-heat ovento 350 degrees.
- Spray muffin mini-muffin tin with non-stick spray.
- In large bowl combine cake mix, flour, water, oil and eggs.
- With an electric mixer, beat at medium speed until smooth, 2-3 minutes.
- Scoop batter by rounded teaspoons into muffin tins– only 1/3 way filled.
- Bake until puffed, approximately 8-10 minutes.
- Let cool 2 minutes.
- Remove to wire racks to cool completely.
- With a small spoon, spread 1 1/2 teaspoons marshmallow creme onto the flat side of each cookie.
- Divide blueberries onto 1/2 the cookies.
- Top with remaining cookies to make sandwiches. Serve immediately or store in airtight container in refrigerator (layer sheets of waxed paper between each layer).





The pies look so yummy!
Using the cupcake pans was a petty smart move. These are super cute. Thanks for sharing on Whatcha Whipped Up
This looks really tasty!
Jack » they are!!