Spending summers at a camp located in the back woods of Maine over-exposed me to maple syrup. On our drives up the east coast, we’d often stop somewhere in Vermont and load up on pure maple syrup. It became as welcomed at the table as ketchup or salt and pepper. So, you can imagine the excitement as I opened up a nice care package from Mohawk Valley Trading Company filled with their homemade Raw Maple Syrup.
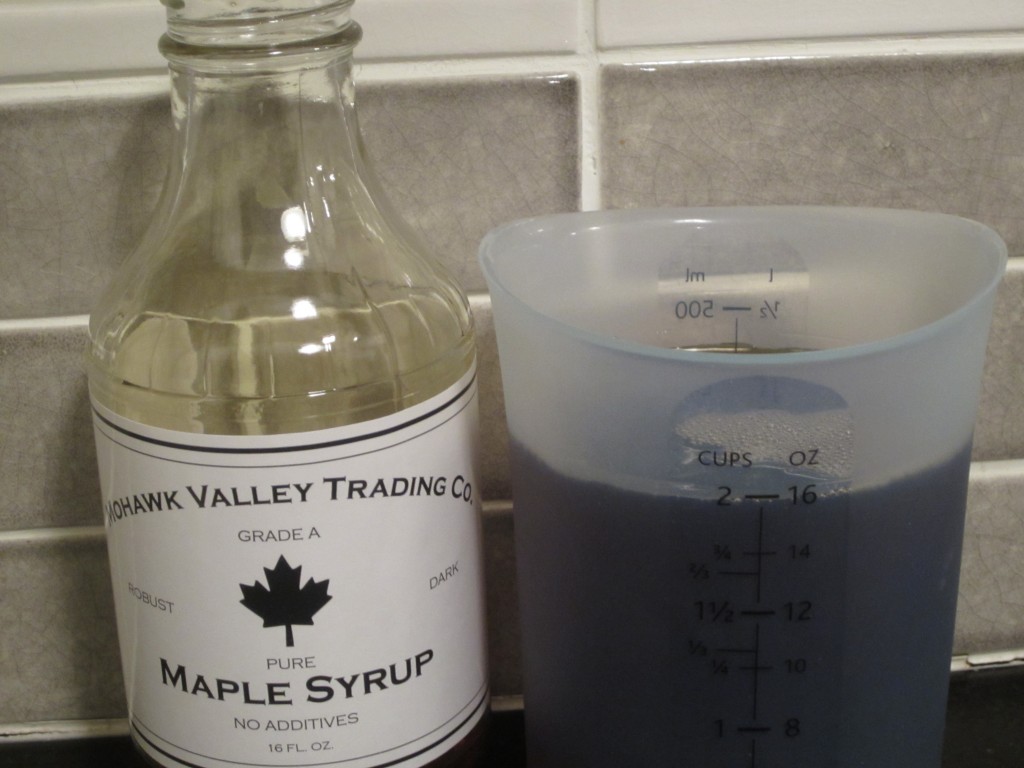 Getting ready to make the candies using pure maple syrup
I couldn’t wait to come up with some more test recipes using the new sweet syrup as I’ve already experimented in these tasty recipes: Mom’s Brussels sprouts w/ bacon and maple syrup; Cranberry Ricotta Pancakes, Smoky Tomato Soup w/Maple Candied Bacon.
Again, for me, the journey through the recipes are just as interesting as the history lessons behind them:
- I had no idea the North American Indians are credited with the maple syrup making process by using crude tomahawks to make incisions into the Maple trees to remove sap. The clear sap was then collected using birch barks.
- Apparently, the settlers who formed their colonies in North America were spell bound with this sweet, delicious juice used as a natural sweetener. They developed their own methods and used iron drill bits to tap the sap and then boil in metal kettles to reduce the syrup.
- Colonists used maple syrup as their main sweetener as sugar was extremely expensive and highly taxed. But the scenario changed when sugar became cheap and replaced maple syrup.
- Now the consumption of maple syrup is one-fifth to what it was in the beginning of twentieth century. And only in the selected regions of North America Maple syrup producing trees are grown like the provinces of New Brunswick, Nova Scotia and Quebec in Canada and the states of Vermont and New York in the US.
With Valentine’s Day on the brain, I decided to experiment making maple syrup candy- essentially using the purest form of maple syrup with minimal ingredients. And, for the next two days, my kitchen was transformed into a maple syrup mecca as I attempted to make Maple Syrup Divinity and Maple Cream Candy.
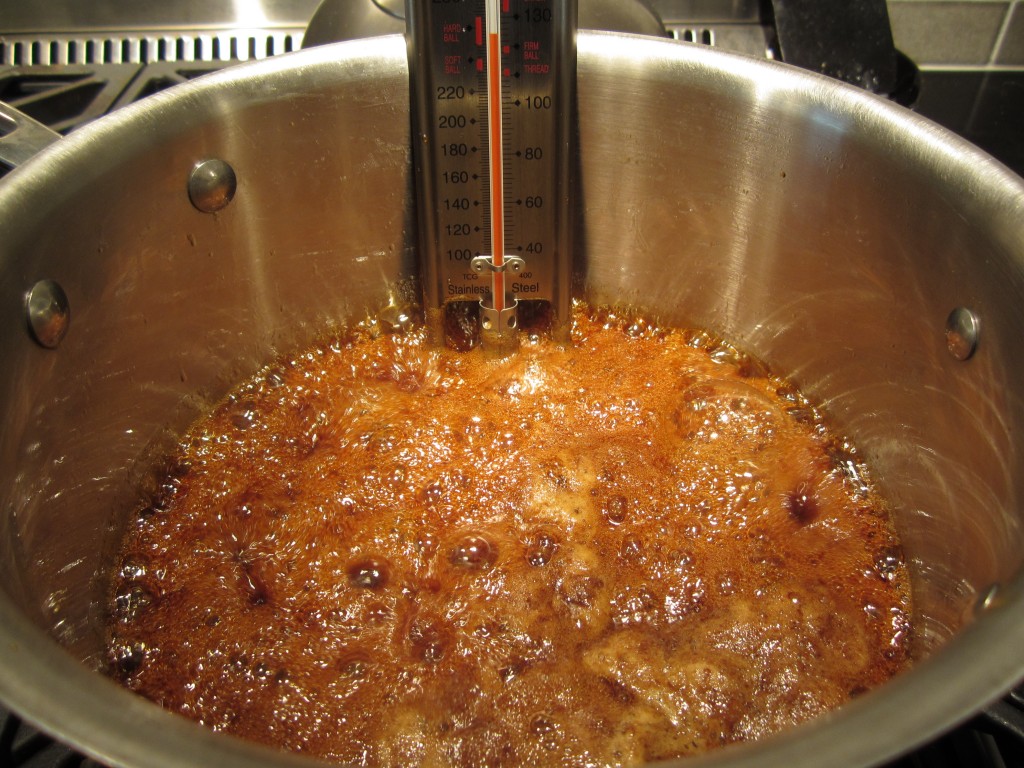
The most exciting part of the candy making process was finally learning to read my candy thermometer and witnessing the changes in the maple syrup’s consistency with each new temperature stage (I also love the names) – my favorite being the “hard ball” stage. Both candy recipes use two or less ingredients and are so simple to make it’s hard to mess up. Unless you’re me.
The Maple Creams literally only require you to boil the the syrup to the “thread” stage and quickly pour it into a mold or shape it onto a sheet and then store it in an airtight container to continue the hardening process.
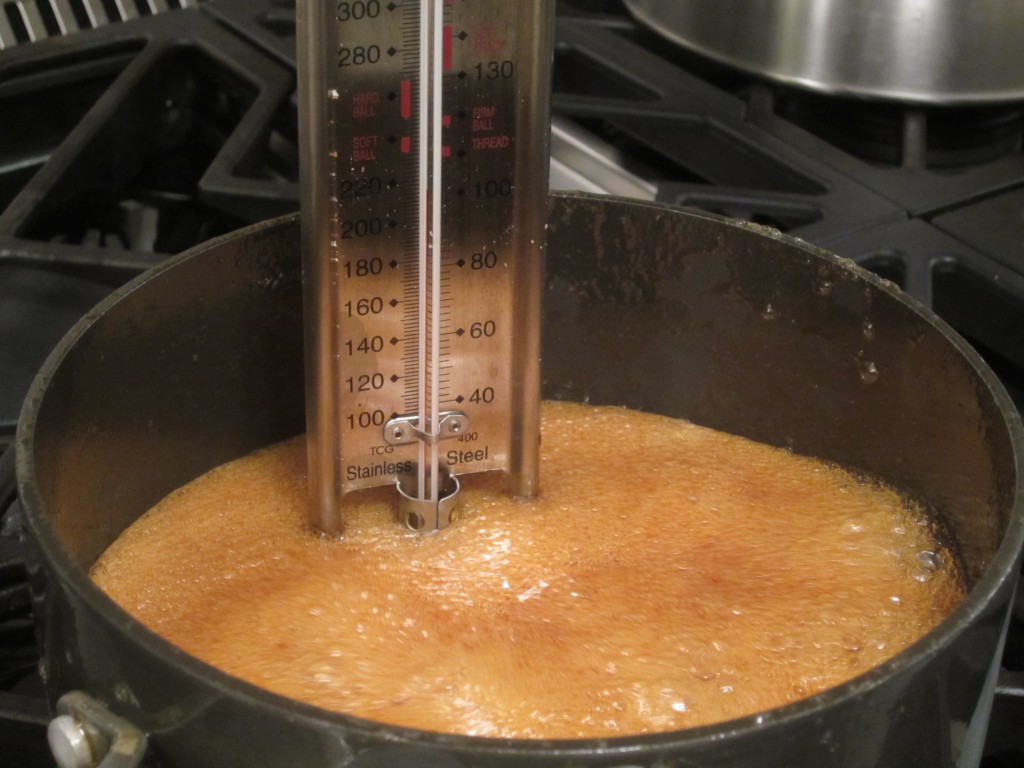 Maple Syrup boiling to “thread” stage
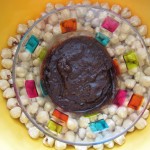
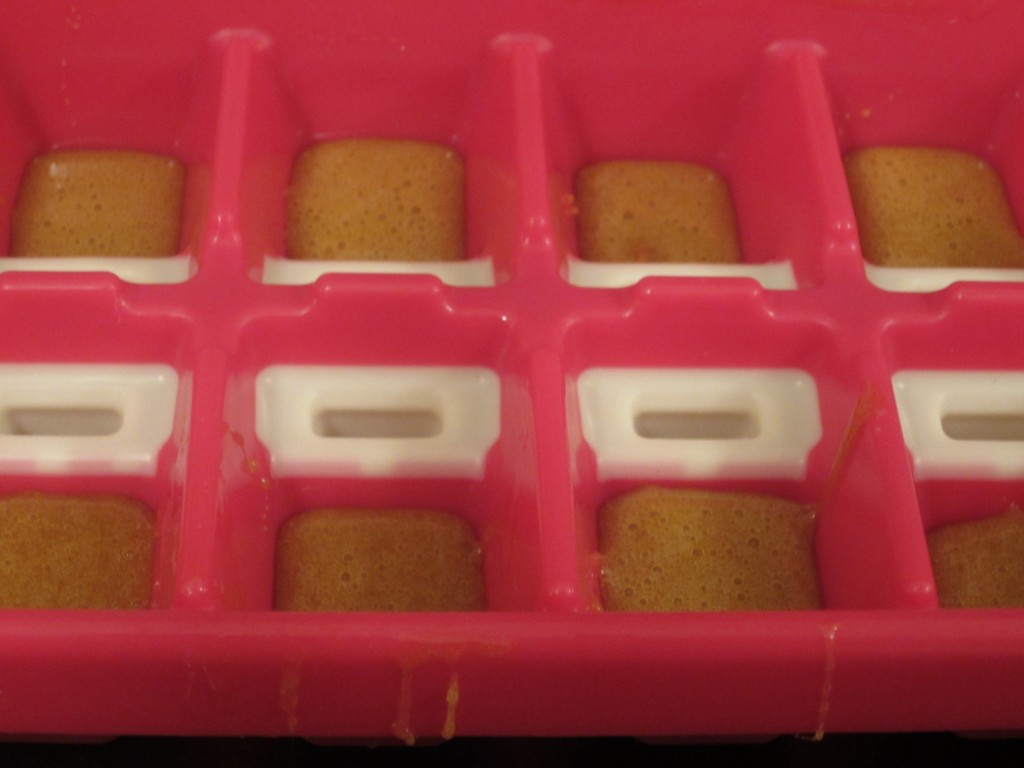 Thread-stage syrup poured into ice cube tray mold
Make sure you follow the directions. I didn’t store it correctly and air got to the candy and ruined the candy. But, if yours turns out correctly, it should look like caramel chews but taste like maple chews!
The Maple Divinity candies are amazing. Boiling the syrup to the hard ball stage was stressful. You simply can’t take your eyes off the stove for a moment or else you’ll risk burning the syrup and causing a smoke issue (which happened to me the first time).
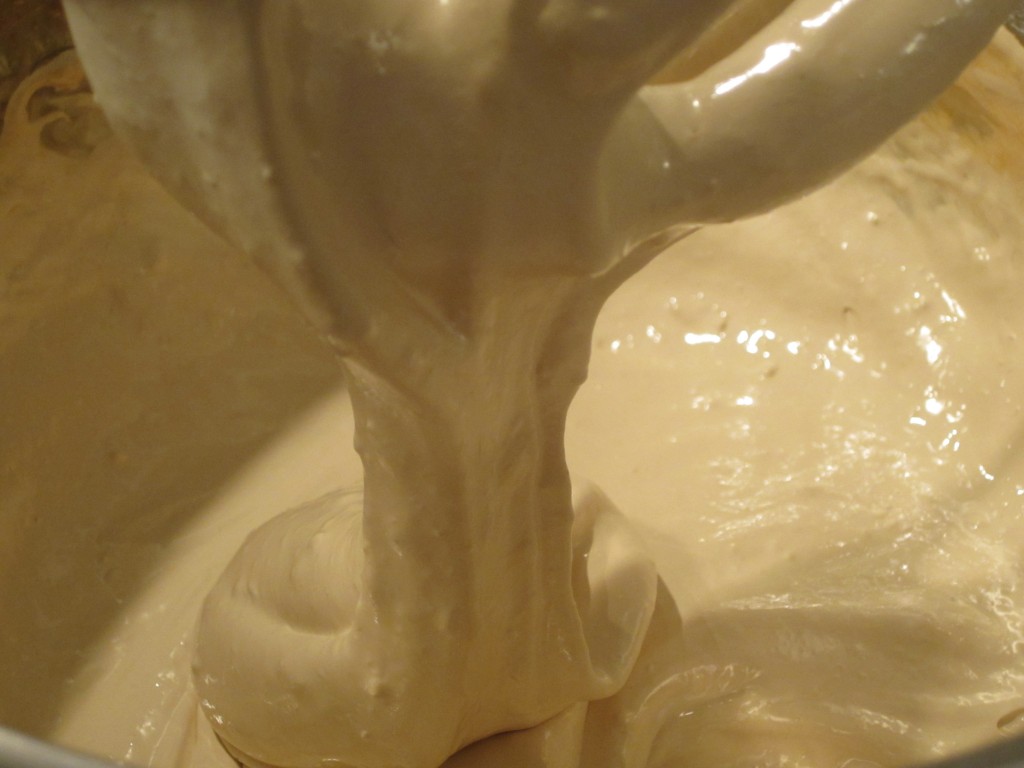
The addition of the hardened egg whites turns the candy into an extremely sticky-taffy-like consistency.
While the directions instruct to make “peaks” with the candy as you’re dropping it by spoonfuls on a cookie sheet, you’re lucky if you can even get the candy off the spoon let alone make peaks. I tried three different times (4 cups of maple syrup) to make the candies look more like Maple Hershey’s Kisses versus a silly putty experiment gone bad but, no change.
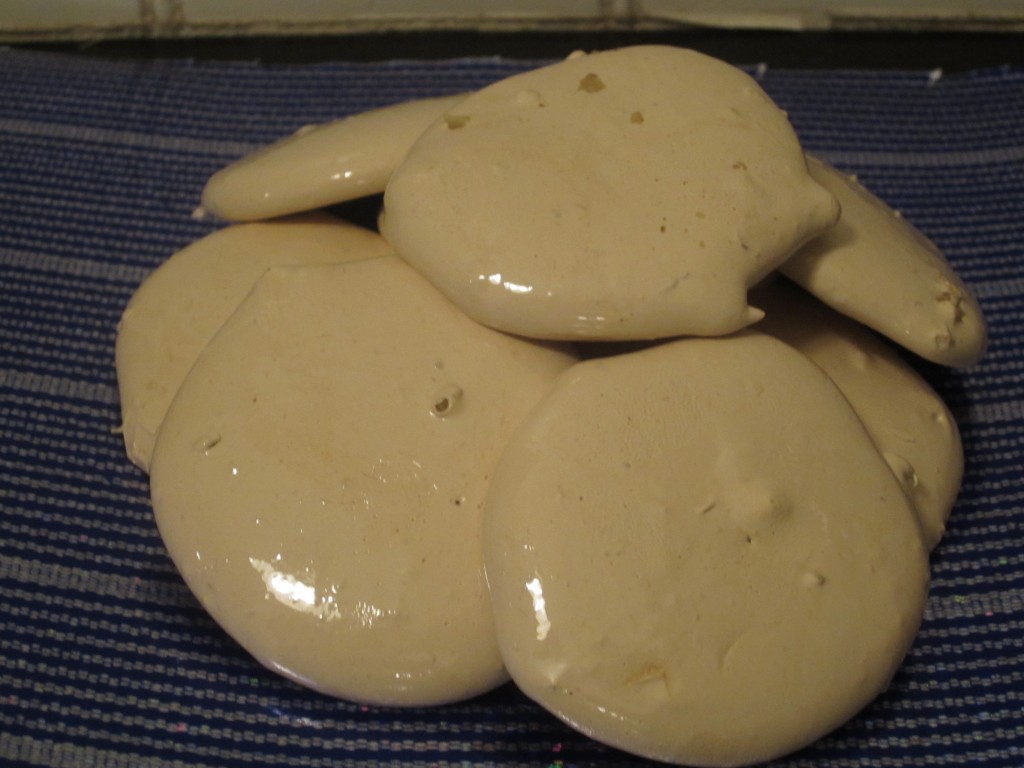 Looks like silly putty but tastes “divine”
Regardless of its tragic appearance, the Maple Divinity Candy tastes exactly like its name — pure heaven.
Go ahead, grab your syrups and turn don’t be afraid to up the heat!
Maple Cream Candy (adapted from about.com)
Ingredients:
- 2 cups maple syrup
Instructions:
- Boil 2 cups of pure maple syrup over very low heat without stirring.
- Let it reach late thread stage, 233 degrees F. on a candy thermometer.
- Allow to cool to 110 degrees F. on candy thermometer, about 1 hour, without stirring.
- Add 1 teaspoon pure vanilla extract.
- Beat until it until it is light in color and fluffy in texture; hard enough to hold its shape.
- Put into forms or molds or shape into patties.
Notes:
Use pure maple syrup, not imitation or maple-flavored.
Use a candy thermometer to judge heat.
This candy dries out quickly when exposed to air so you must pack in an airtight container as soon as it is cool.
Maple Divinity (adapted from about.com)
makes 2 dozen candies
Ingredients:
- 2 cups maple syrup
- 2 egg whites
- 1/4 teaspoon salt
- 1 teaspoon vanilla
- 1/2 cup coarsely chopped pecans
Instructions:
- Butter sides of heavy 2-quart saucepan.
- Add maple syrup and cook rapidly over high heat to hard ball stage (250°) without stirring.
- Remove from heat.
- At once beat egg whites with salt until stiff peaks form. Add hot syrup to egg whites in a thin stream, while beating at high speed with an electric mixer.
- Continue beating until mixture forms soft peaks and begins to lose its gloss.
- Stir in the vanilla.
- Quickly add the pecans; drop mixture by teaspoonfuls onto waxed paper; swirl each candy to make a peak


Love the taste of maple syrup and I’m hugely impressed with candy therm. usage. Makes me sad people using less maple b/c we know what it’s been replaced with isn’t as good.
Just got a nice bottle of maple syrup and was looking for something different to try. Found it.
wow am super impressed with these recipes! I think they are too advanced for me, I need to get me a termometer and a whole lot of courage